Web Widget
Widget is a set of solutions that allow customer projects to quickly integrate agent dialogue functions. It provides standard interfaces and functions out of the box, as well as customized interface styles and message development solutions, so that customers can quickly customize their needs.
Features
- Responsive design —— Fit PC web sites, mobile pages
- Custom themes —— Preset multiple themes, each of which can be quickly adjusted by modifying style variables
- The plug-in system —— Event - and response-based development capabilities facilitate rapid integration of new features with long-term low-coupling maintenance
- Internationalization —— Support multiple languages, can be customized replacement or merge
- Rich components —— Provide a variety of powerful basic components to help customized development
Tutorial
Widgets provide standard interfaces and functionality right out of the box.
Next we'll embed the Widget in an HTML page that uses the default template to interact with your agent.
Prepare
To get started, we need an HTML file to load the Widget. You can either select an existing HTML file or use the blank HTML below:
<!DOCTYPE html>
<html>
  <head>
    <title>LC Widget</title>
  </head>
  <body>
    <!-- you can add JS file and script below-->
  </body>
</html>
Import widget
- Customize your widget in web widget channel and update the configuration
- Copy the embed installation code from the integration tab:

- Paste the embed installation code in HTML:
<script type="text/javascript" src="https://{{YOUR_MINIO_HOST}}/chatbot/mid/testoss/chatbot-widgets/templates/template2/template2.umd.js"></script>
<script>
  var widget = document.createElement("laiye-chatbot-widget");
  document.body.appendChild(widget);
  new ChatbotWidget({
    container: widget,
    agentId: '',
    channelId: '',
    historyChannelId: '',
    locale: 'en-US',
    publicAssetsPath: '',
    // Service account ID & secret, you can search for it in the "Service Accounts" page of the platform's menu.
    serviceAccountId: '',
    serviceAccountSecret: '',
    // User info module. If there is no username, the platform will generate one automatically.'
    userInfo: {
      name: '',
    },
    // Please enter the metadata that you want to postback. If there is no need, you can leave it empty.
    metadata: '',
    // Your Server URL
    request: {
      baseUrl: ''
    }
  }).init()
</script>
Now that we have successfully embedded the Widget in HTML, let's try it out!
Test widget
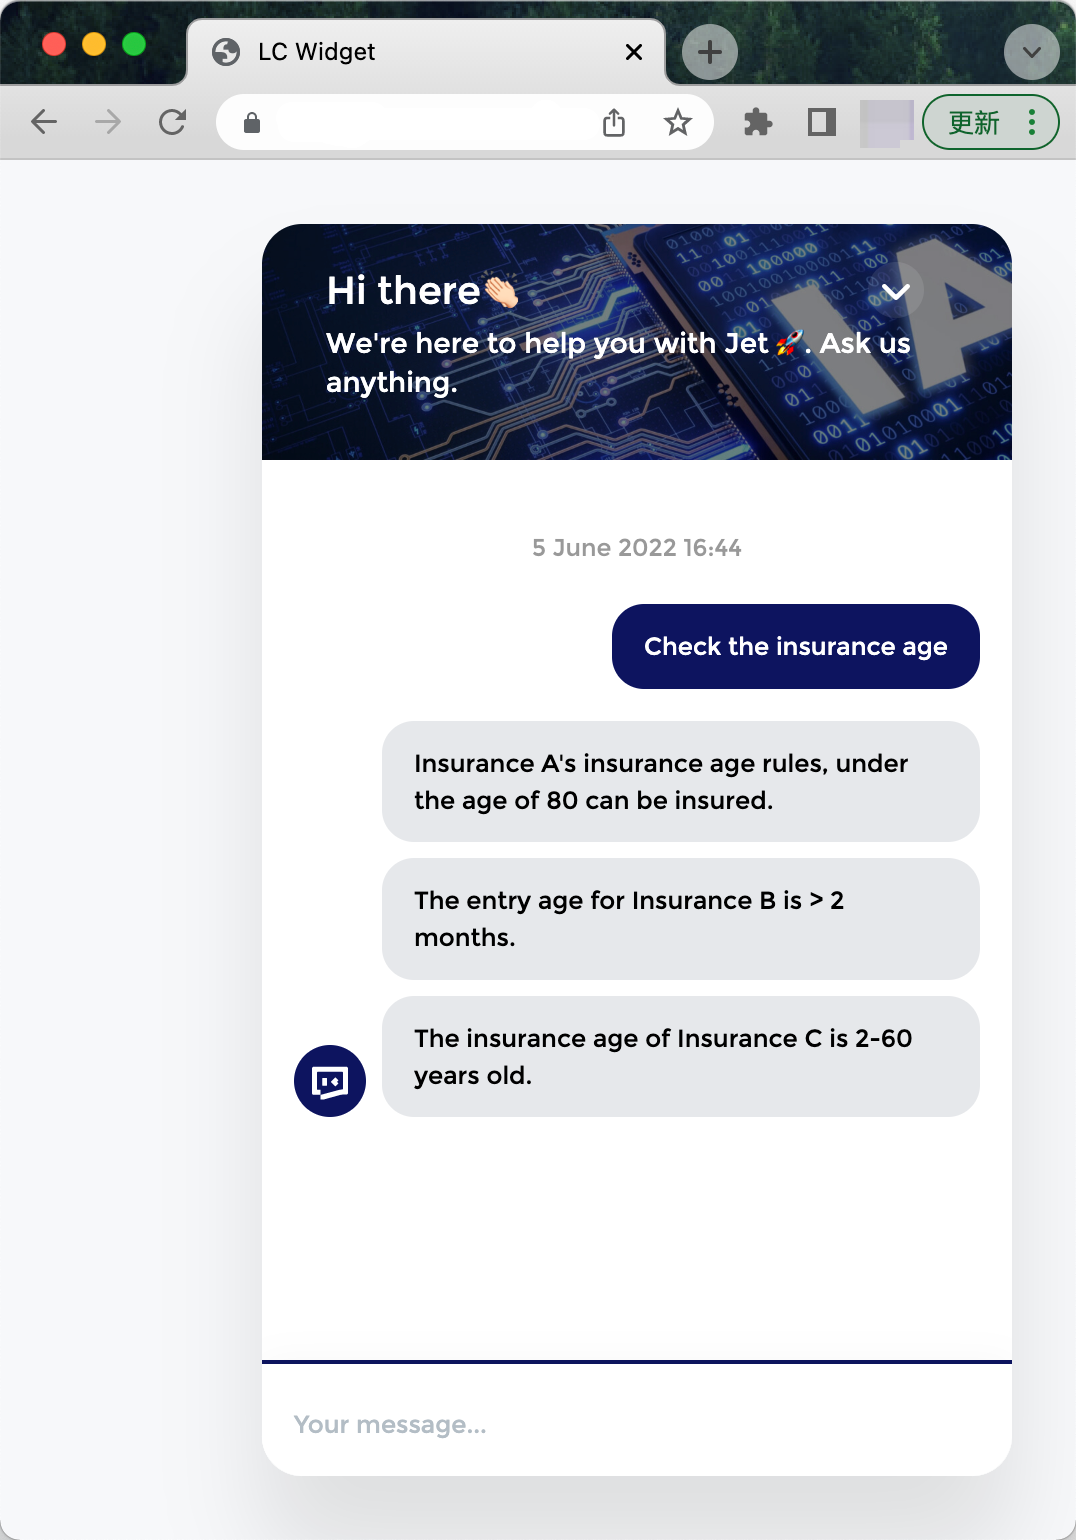
Open the HTML in a browser, and you'll see the following screen:
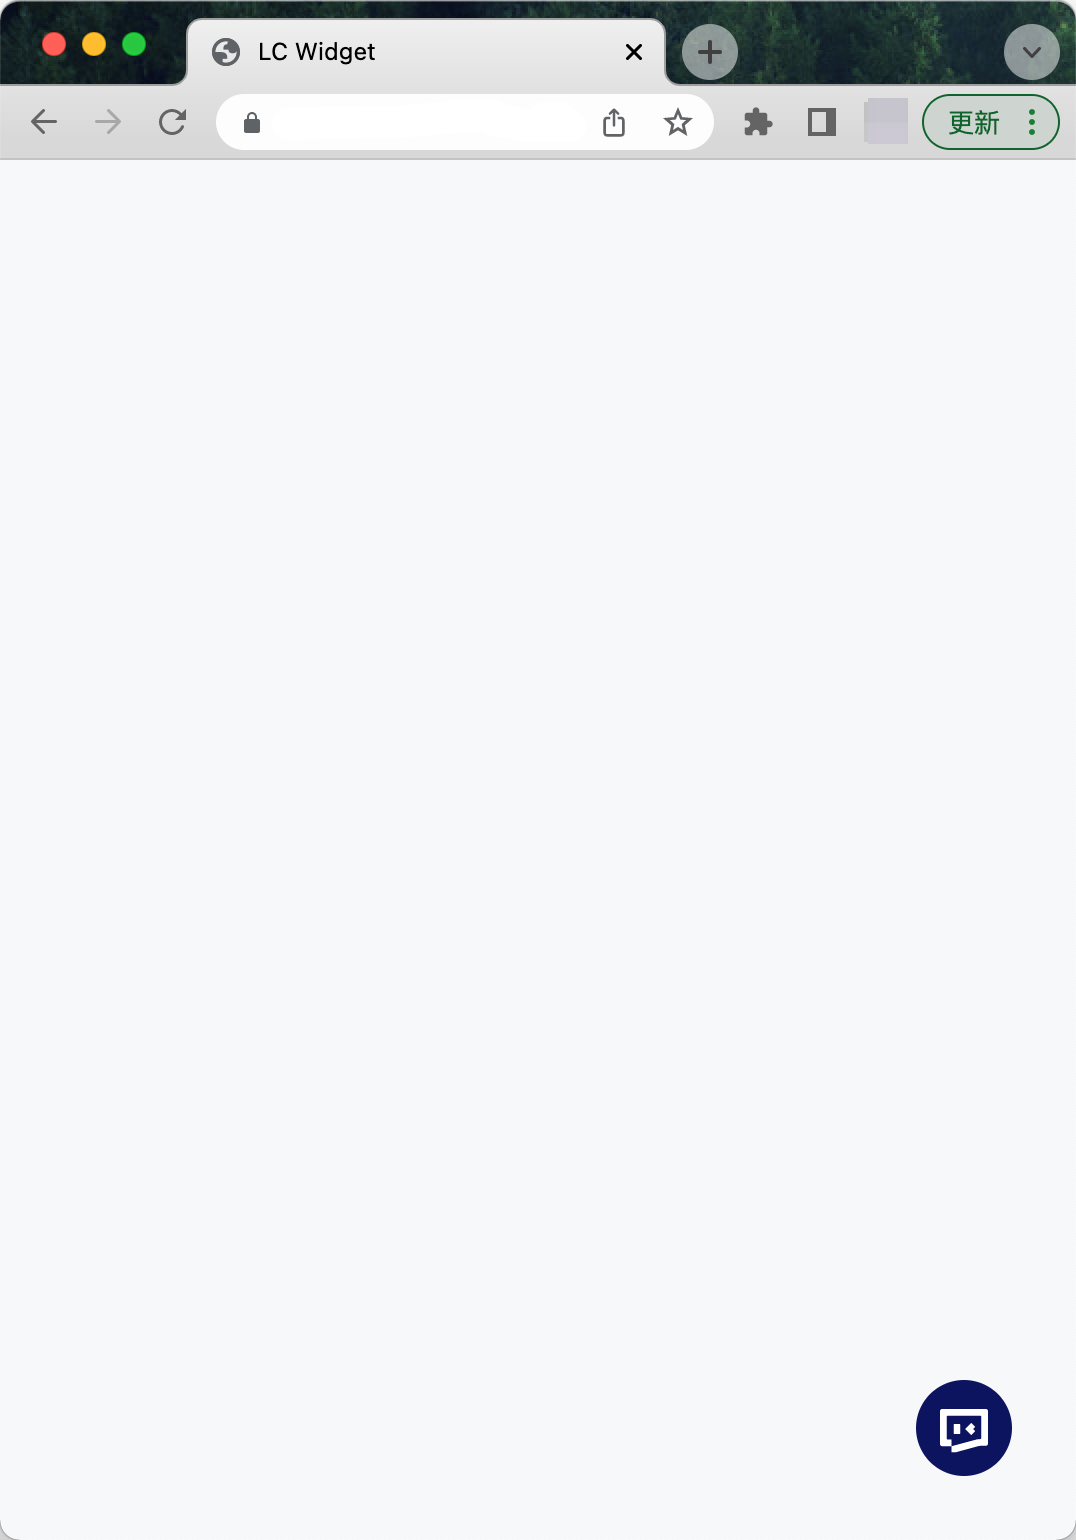
Click the icon in the lower right corner to open the dialogue window:
Advanced guides
How to change base request address
The request address can be specified during initialization:
<script>
  // ...other code
  new ChatbotWidget({
    // ...other config
    request: {
      baseUrl: YOUR_CHATBOT_SERVER_URL
    }
  }).init()
</script>
How to change the user avatar
<script>
  // ...other code
  var widgetInstance = new ChatbotWidget({/* config */})

  if(widgetInstance && widgetInstance.model) {
    // user's avatar
    widgetInstance.model.userInfo.avatar = CUSTOM_USER_AVATAR; // [string] e.g: 'https://poc-chatbot-minio.laiye.com/chatbot/mid/testoss/userAvatar.png'
  }
</script>
How to custom locales
There has two parts —— locale and locales:
- The locale value specifies which language is being used. A preset locale includes:
zh-CN(default)en-US
- Locales contain mapped text in all languages. The keys included in Locales can be found in the API documentation Locales.
<script>
  // ...other code
  var widgetInstance = new ChatbotWidget({/* config */})

  if(widgetInstance && widgetInstance.model) {
    // Specifies which language is currently in use, such as "en-US"
  widgetInstance.model.locale = "YOUR_LOCALE"

    // Locales contain mapped text in your language
  widgetInstance.model.locales = {
      ...widgetInstance.model.locales,
      // mapped text
      "YOUR_LOCALE": {
        Time: {
          weekdays: 'Sunday_Monday_Tuesday_Wednesday_Thursday_Friday_Saturday'.split('_'),
          formats: {
            LT: 'YYYY-M-D HH:mm', // 00:32
            lll: 'YYYY-M-D HH:mm', // 2019-2-22 00:28
            WT: 'YYYY-M-D HH:mm', // Monday 00:32
            YT: 'YYYY-M-D HH:mm', // Yesterday 00:32
          },
        },
        Composer: {
          send: 'Send',
        },
        'testbot.relevant': 'You may want to know',
        'input.placeholder': 'Write a message...',
        'title': 'Widget'
      }
    }
  }
</script>
How to track events
Every event that is emited emits a "log" event, except "log" event itself.
<script>
  // ...other code
  var widgetInstance = new ChatbotWidget({/* config */})

  if(widgetInstance && widgetInstance.model) {
  widgetInstance.model.on('log', function(model, info) {
      var {
        eventName,
        payload
      } = info

      // do something with log info
      console.log('info', info)
    })
  }
</script>
How to update attributes for user
The Widget supports adding metadata to the conversation for personalized replies from the agent.
    // ...other code
    var widgetInstance = new ChatbotWidget({/* config */})

    if(widgetInstance && widgetInstance.model) {
      widgetInstance.model.setSessionData('LCMetadata', {
      KEY_OF_YOUR_METADATA: "123"
    })
  }
If you want to persistent user attributes, you can learn more from Metadata.
note
If the metadata sent during a message has the same attribute as the persistented metadata, the agent will use the metadata you sent during the conversation instead of persistented one.
If both have the attribute "timezone", the value of the persistented is "+8", when the value of this round is "+0", the agent will press "+0".
FAQ
Failed to receive the message with a failed request
Case 1: channel is not exist
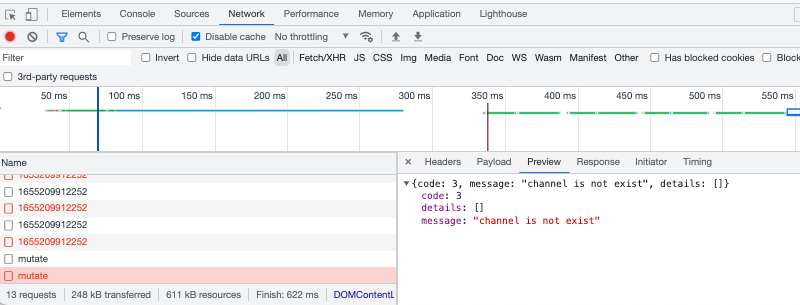 Cause: channelId does not exist. Different bots have different channel ids. Check whether the channelId passed during initialization is the channelId owned by the current bot.
Solution: Update the correct channelId according to the channel information of the current robot.
Cause: channelId does not exist. Different bots have different channel ids. Check whether the channelId passed during initialization is the channelId owned by the current bot.
Solution: Update the correct channelId according to the channel information of the current robot.
Case 2:type mismatch, parameter: agent_id, error: strconv.ParseInt: \"102685x\": invalid syntax"
 Cause: agentId parsing error, possibly the passed agentId contains characters other than numbers.
Solution: Check and update agentId.
Cause: agentId parsing error, possibly the passed agentId contains characters other than numbers.
Solution: Check and update agentId.
Case 3: CORS
Pay attention to the following issues:
- If the embedded page uses HTTPS, ensure that the HTTPS protocol is used on the Chatbot server and the protocol is reliable.
- If Nginx or other intermediate servers exist in the network link where the embedded page requests the Chatbot service, it is necessary to confirm whether the CORS configuration has been modified (usually contact the relevant SREs).
- For other reasons, contact the custom project developer.