Agent Management
This chapter will introduce: what is an agent, and how to manage the agent on the platform.
What is Agent?
Agent is a unit that can be used independently. Through analysis and understanding of human natural language, it takes the form of daily conversation to assist enterprises in solving various business problems efficiently, rigorously and at low cost in real scenarios.
- On the conversational AI platform, users can create and manage multiple agents. Within each agent, users can also build and maintain different conversation flows.
Timezone is the default timezone agent refers to when normalising time-related information.
- When the user mentions "today", "tomorrow" or other information related to time and date in the conversation, the agent will normalise the entity based on the timezone selected here.
Language Model languages supported currently are Chinese and English. The language setting is used to specify the algorithm model used by the agent in recognising and processing user messages.
- If Chinese is selected as the language when creating the agent, it will work better when processing messages sent in Chinese.
- If the agent needs to handle messages in English more frequently, setting the language as English will be a better choice.
note
Differences between model language and system language are that:
- Model language is set when creating a new agent, which is used to specify the algorithm model used by the agent in recognising and processing user messages.
- System language is the set of the user interface, which can be changed anytime in the "User Center" in the top right corner of the page.
How to creat an Agent?
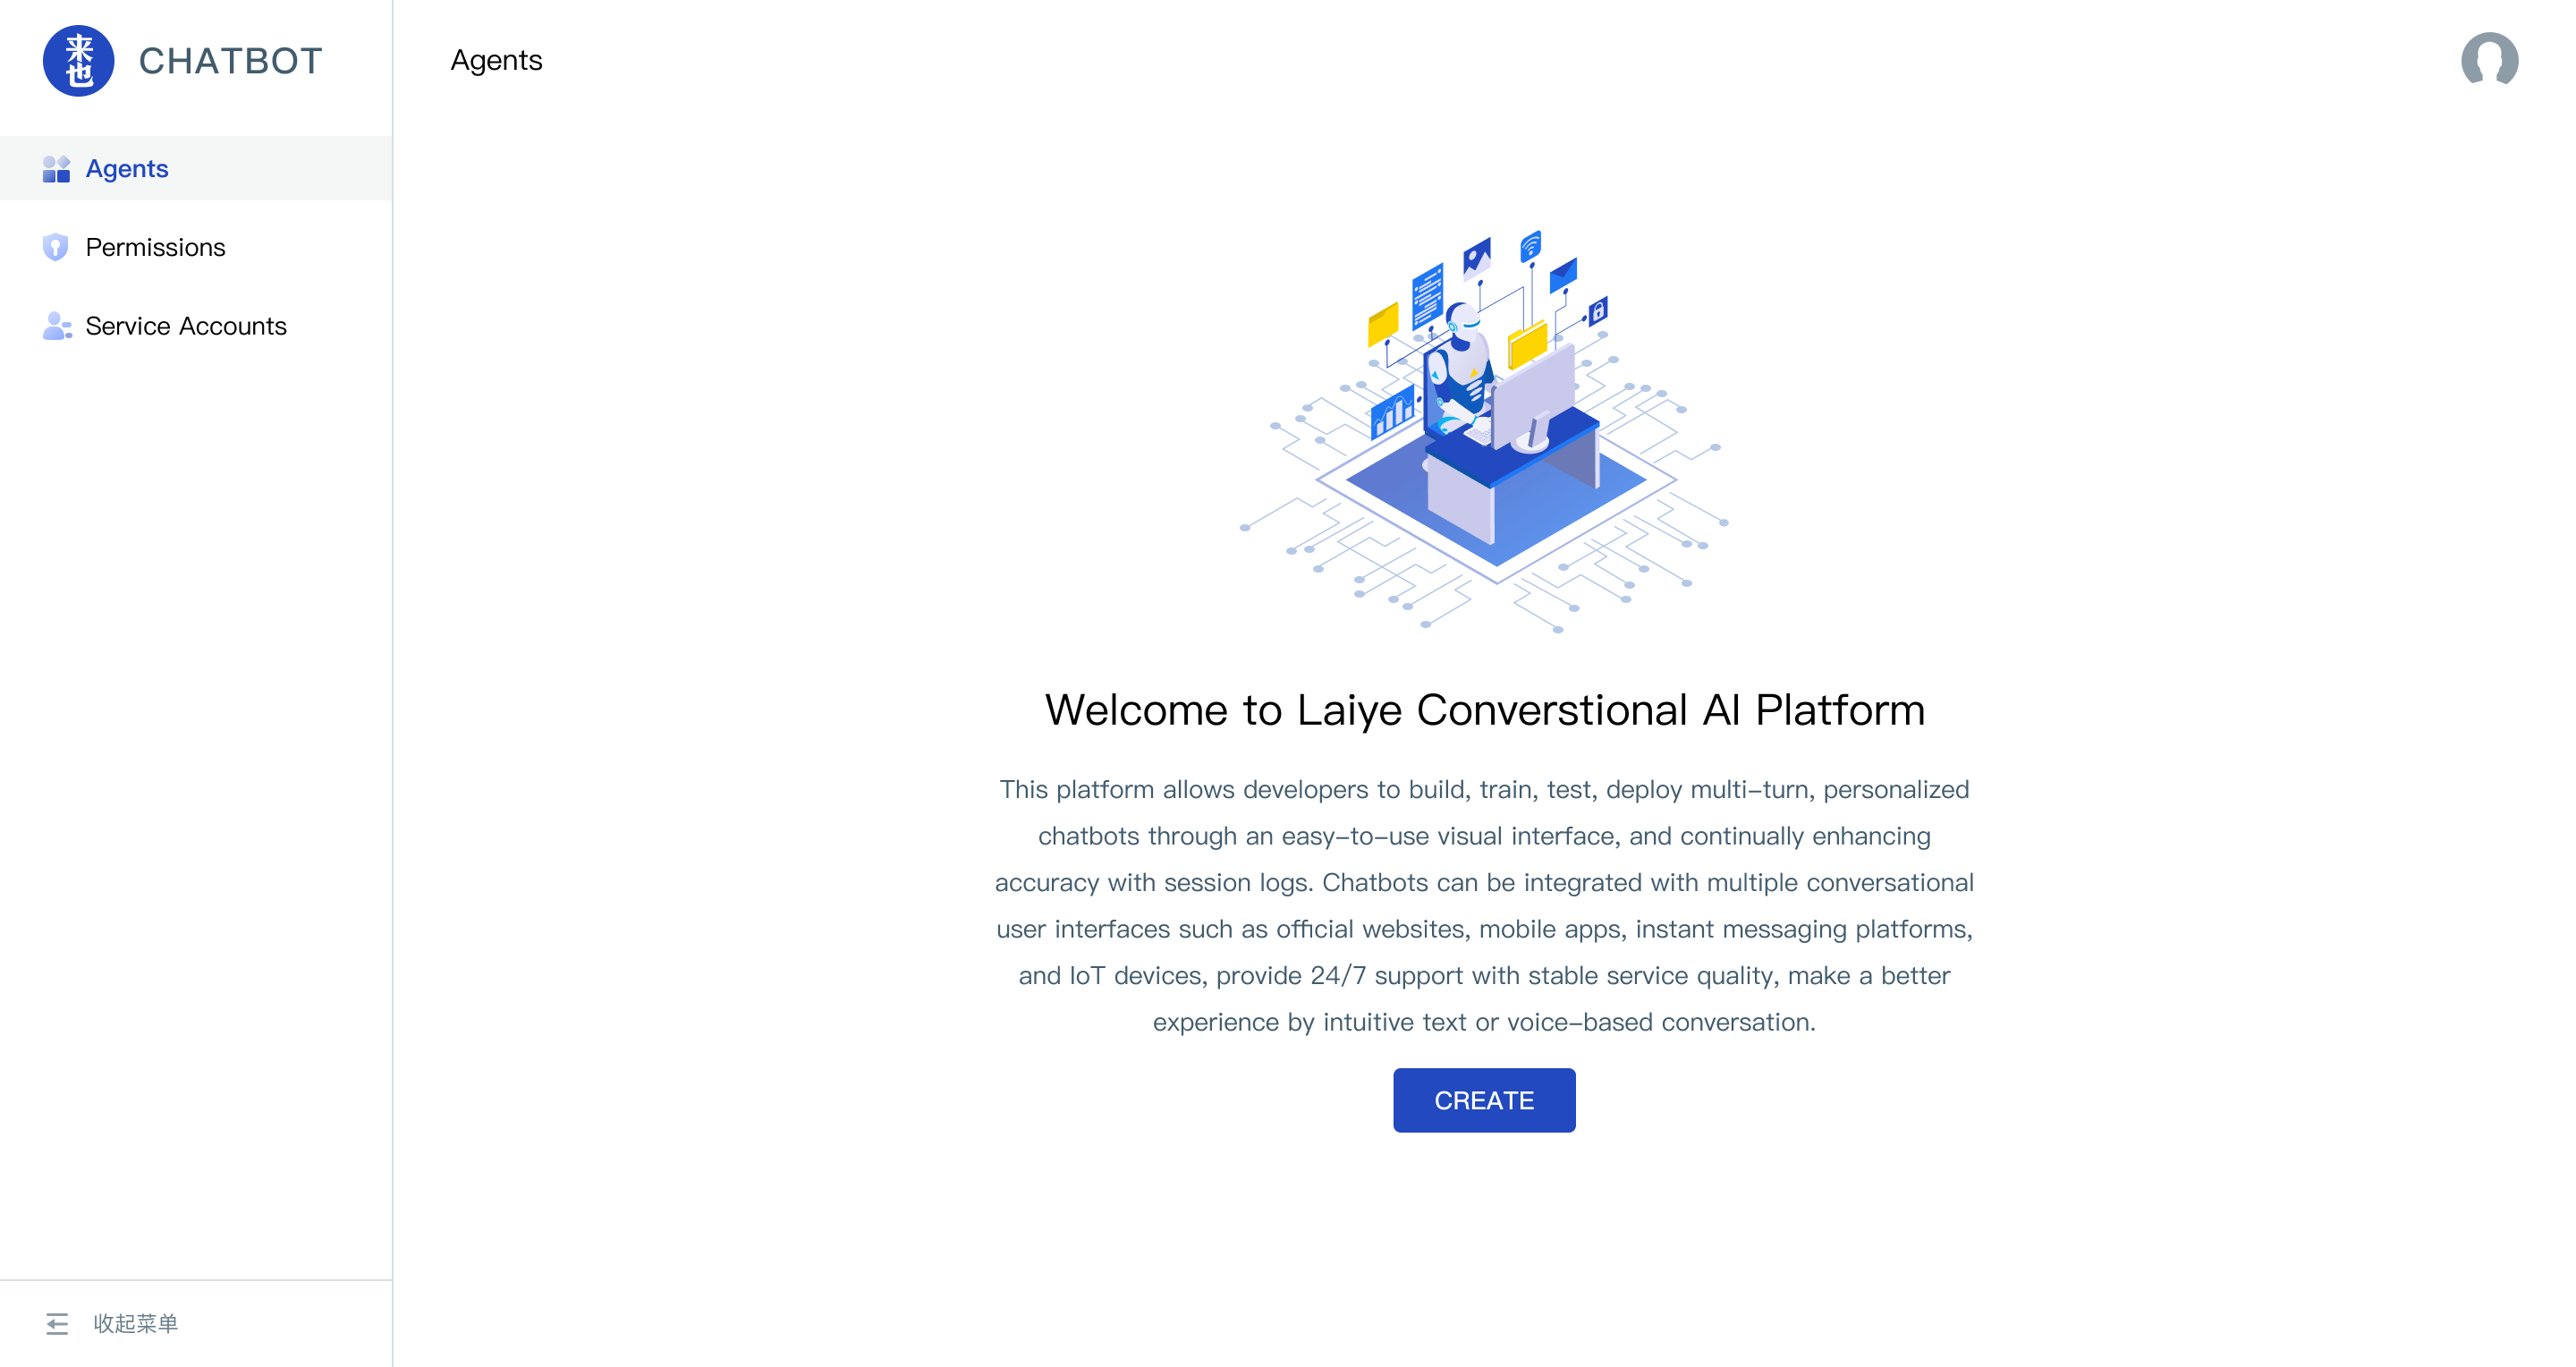
- After signing in, the first page you see is the agents page. There is no agent in the list when you first sign in to the platform:
- Click the "CREATE" button, set the Agent name, Timezone and its model Language to create a new agent:
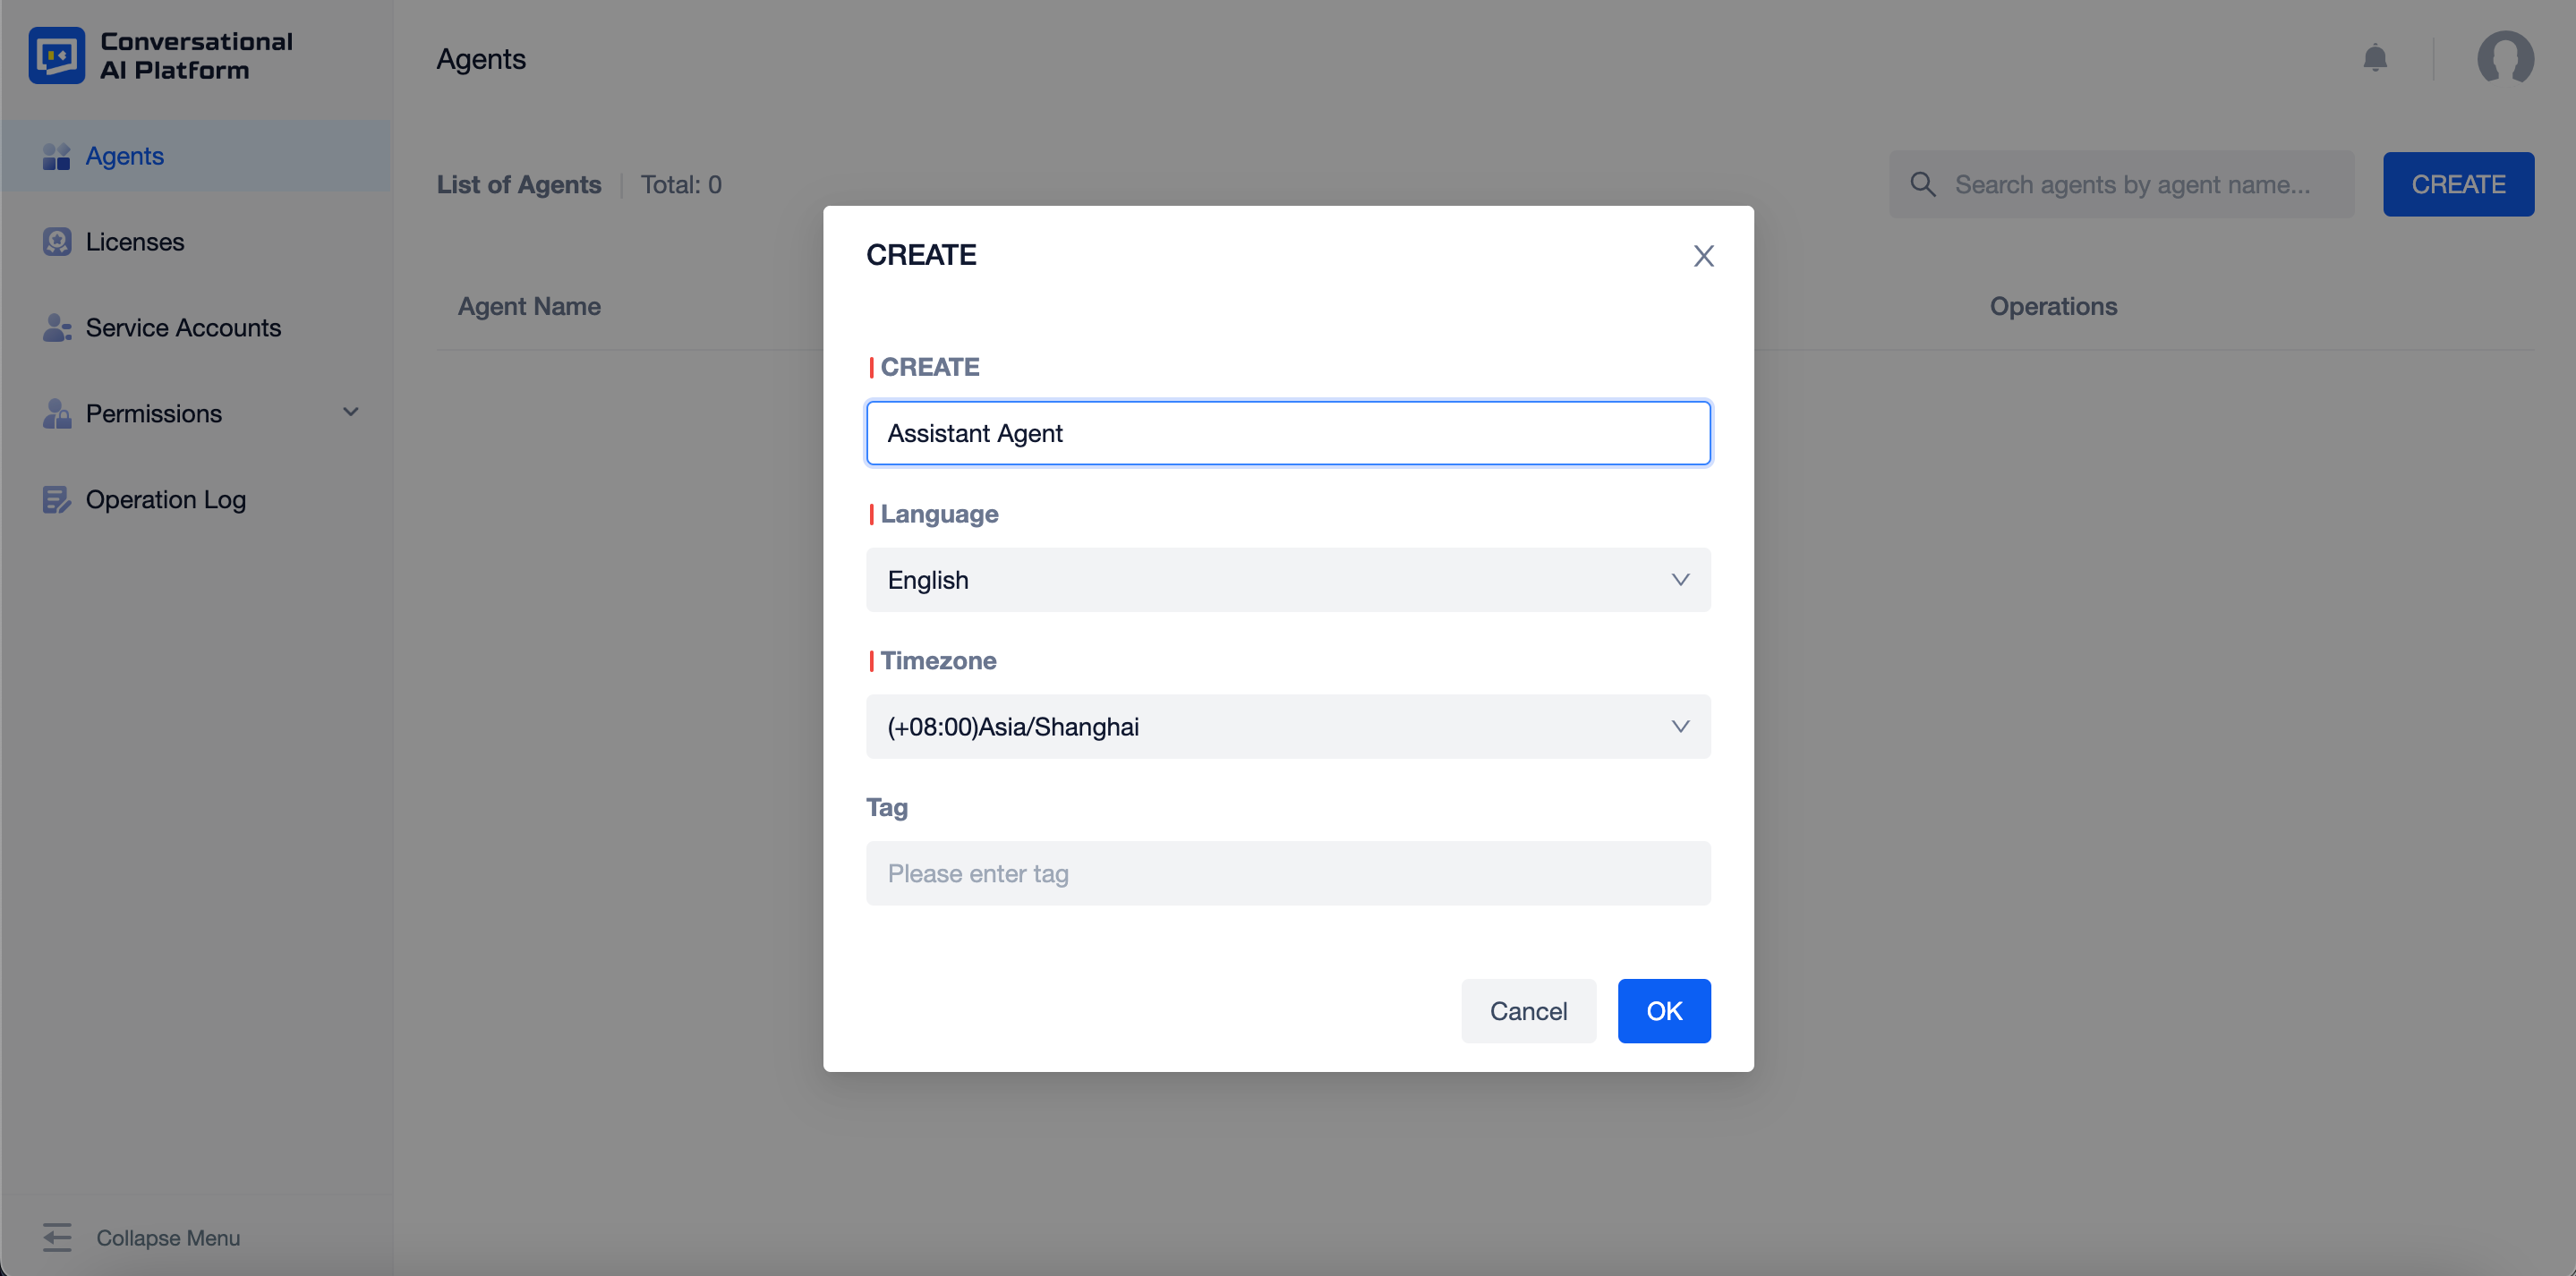
- Agent name is used to distinguish different agents, so you can't give the name already used for a new agent.
tip
In a cross-time-zone scenario, users in different regions may be in different timezones.
For an agent to serve users in different timezones simultaneously, the "user's timezone" needs to be sent to the agent in the session interface as a metadata parameter.
- When the user's timezone is assigned in the session interface, the agent will use the timezone specified in the parameter as the normalization criterion for the time and date entity.
- When the user's timezone is not assigned in the session interface, it defaults to the agent's timezone. It is therefore recommended that the agent's timezone be selected as the timezone where most users are located.
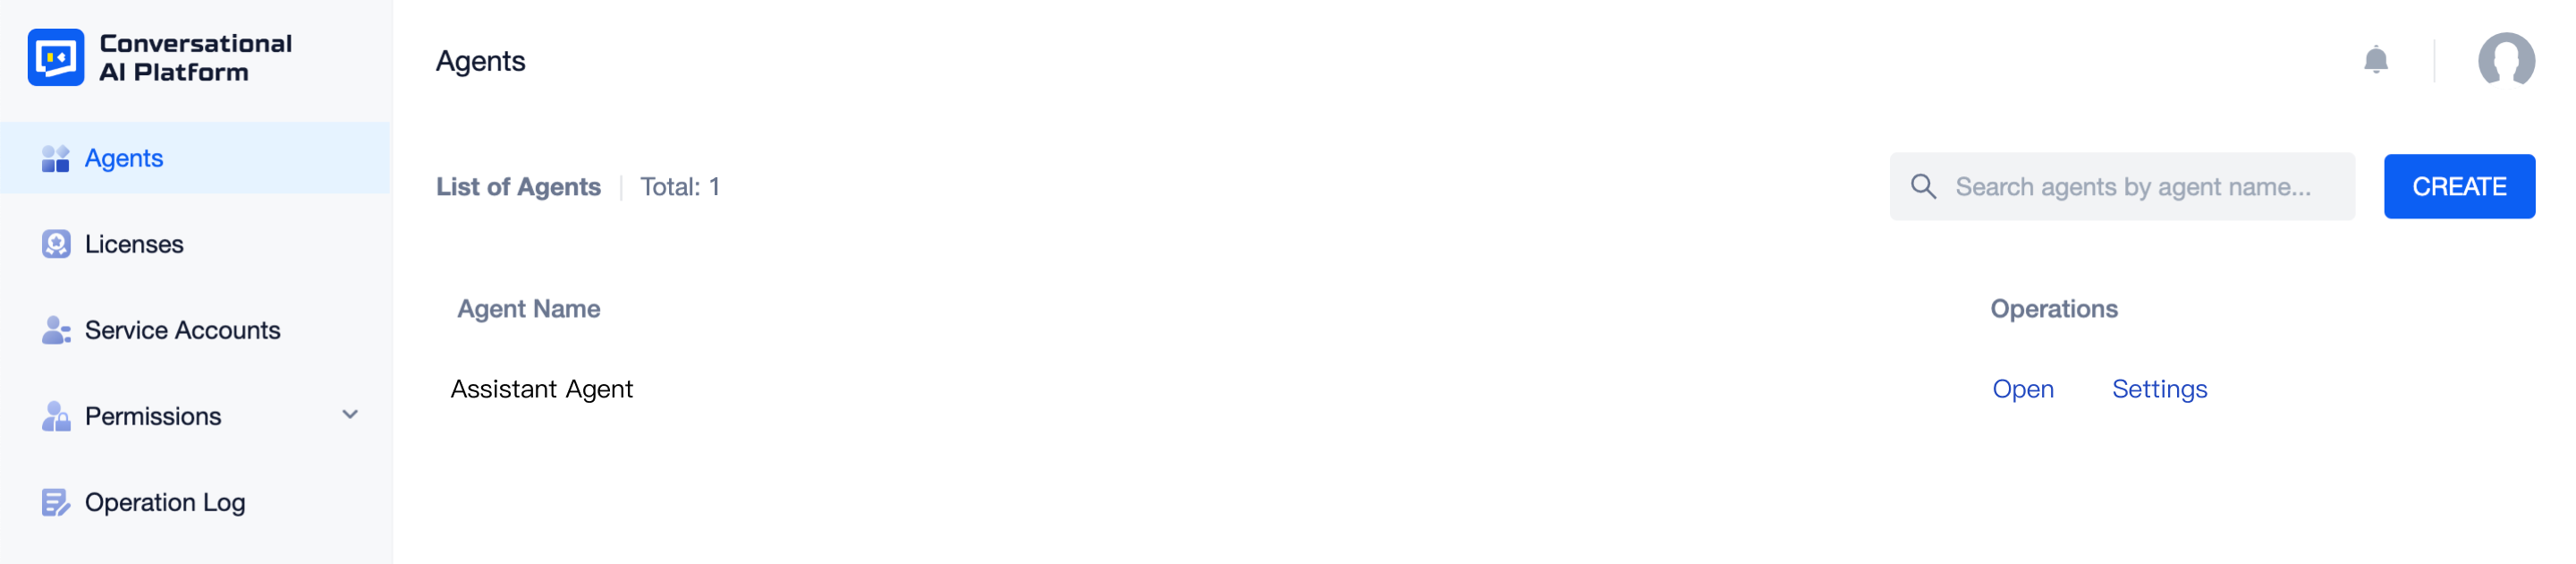
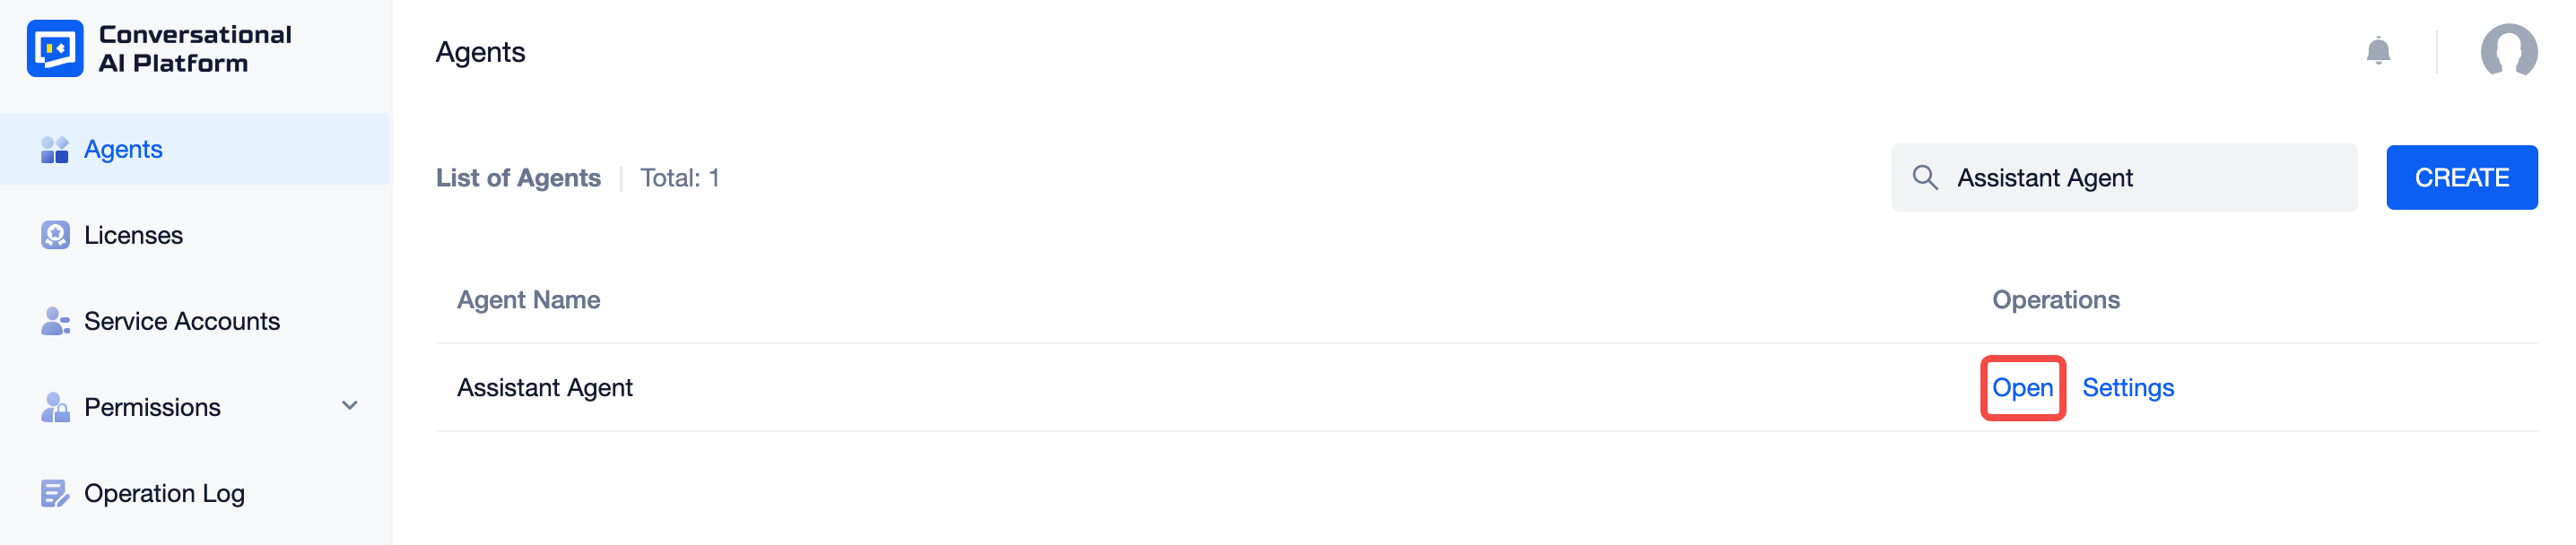
- Once an agent has been created on the platform, the agent page displays a list of agents, including their names and operation buttons:
- Click the "Settings" button to view the configuration information of the agent, you can also rename or delete the agent here:
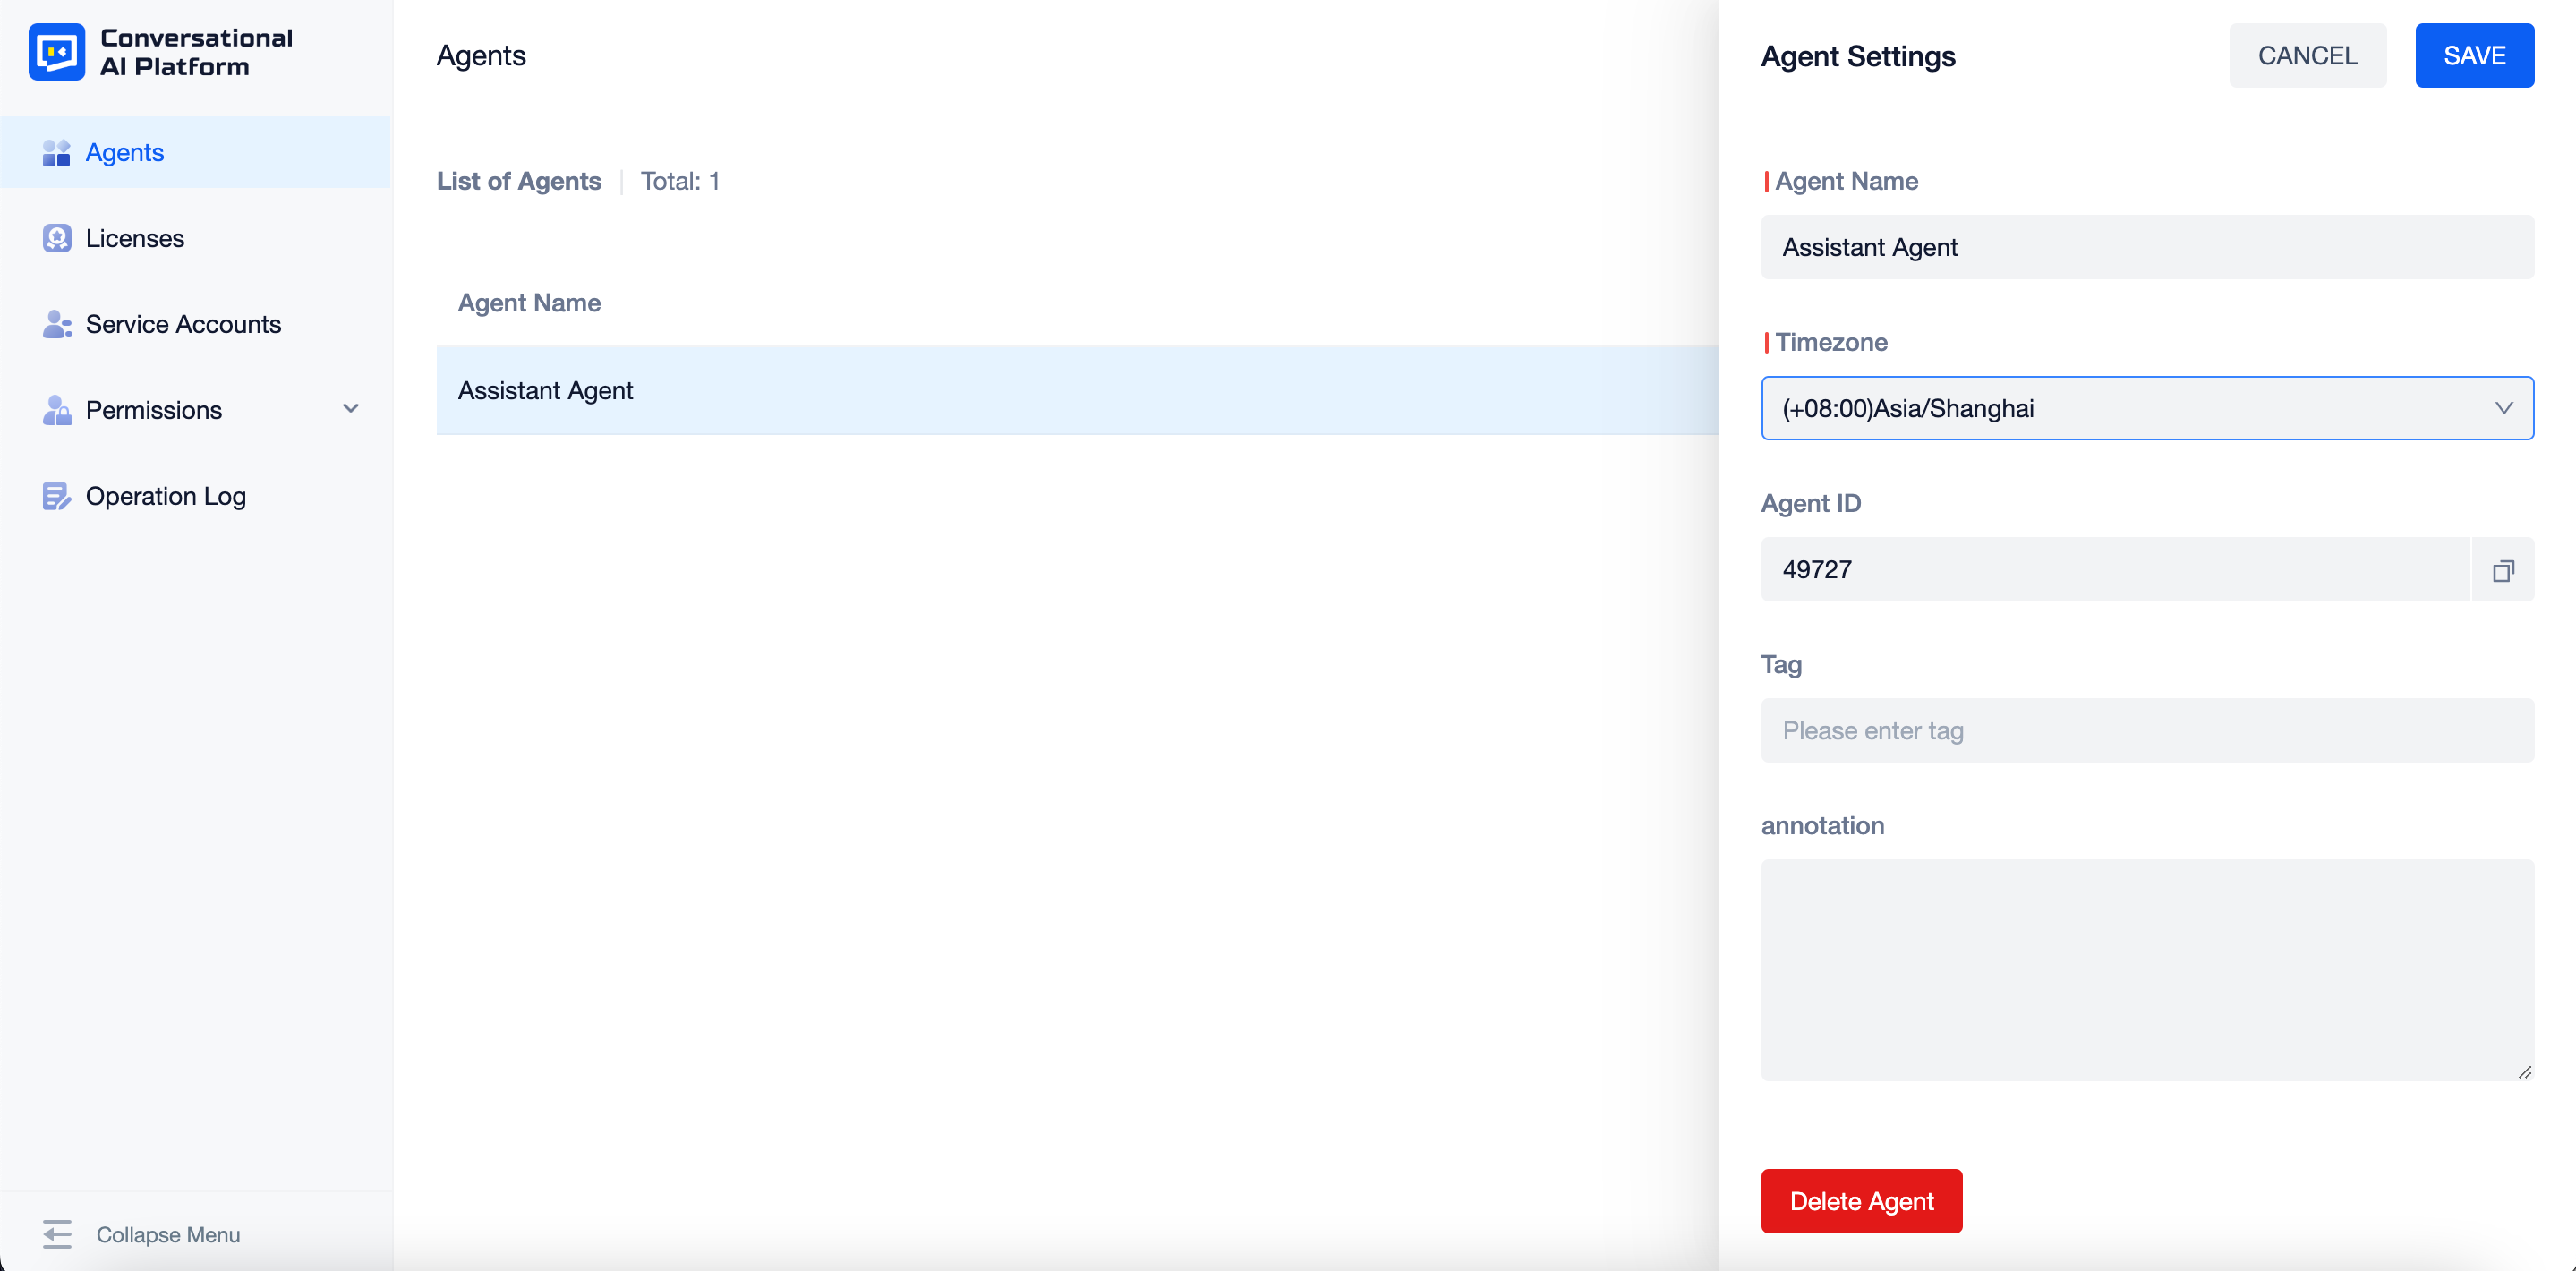
- Agent name is used to distinguish different agents and can be modified.
- Agent ID is the unique value automatically generated when the agent is created. It can be copied but cannot be modified.
- Language used in the model is selected when creating the agent, which cannot be modified.
- Creation time is the time when the agent was created, which cannot be modified.
- Use permission is the date range within which the current agent can send and receive messages normally after being authorized. It cannot be modified on the current page.
- For the definition and operating instructions of licensing, please see the licenses page.
- There is no limit to the number of agents. You can search for the agent by name in the search box on the upper right. Please note that agent names are currently case-sensitive.
Enter the agent
- Click the "Open" button to enter the agent. Each agent's data is completely independent.
- It goes to the home page after entering, where you can see the workflow of agent creation and improvement:
- As shown in the image above, there are several tools in the top bar, their functions from left to right are listed as followed:
- Task Center: it shows the process and status of tasks (e.g. import, export).
- Train button: click the button to start training of the conversation model in the sketch environment.
- Test button: click the button to test the effect of the conversation model in the sketch environment.
- Current agent's name: you can search or select another agent from here.
- Agent Settings: you can check the settings here.
- Notification Center: it is generally used to send messages such as robot expiry reminders.
- Agents: click here to go back to the agents page.
- User Center: you can change system language, enter the help center or sign out the account here.