Find target
In the command list of Laiye RPA Creator, it can be simply divided into two types: target command and no target command. For example, all commands belonging to the "interface element" and "text" modules are targeted commands, and an interface element must be specified; All commands belonging to the "string" and "array" modules are aimless commands without specifying an interface element.
The "find target" tool in the toolbar supports quick selection of four types of targets:
- Element Ctrl + 1
- Image Ctrl + 2
- Window Ctrl + 3
- Area Ctrl + 4
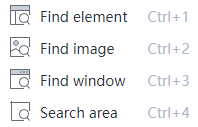
Quick target selection can be operated not only by clicking the drop-down option, but also by using shortcut keys.
At present, in enterprise version 6.0, it is supported to save the target feature attribute of quickly selected elements and window types to the Interface Library.
Element
In the Laiye RPA Creator, interface elements can be the targets of targeted commands. When you click "find target > find element" in the toolbar, or use the shortcut "Ctrl + 1" in the Process editing window page, you will enter the interface element capture mode:
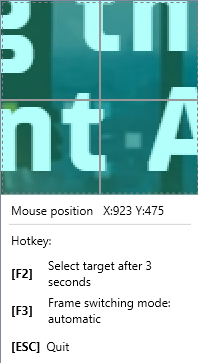
Click the selected interface element directly to complete the selection, and the target editing window in the UI Analyzer will pop up:
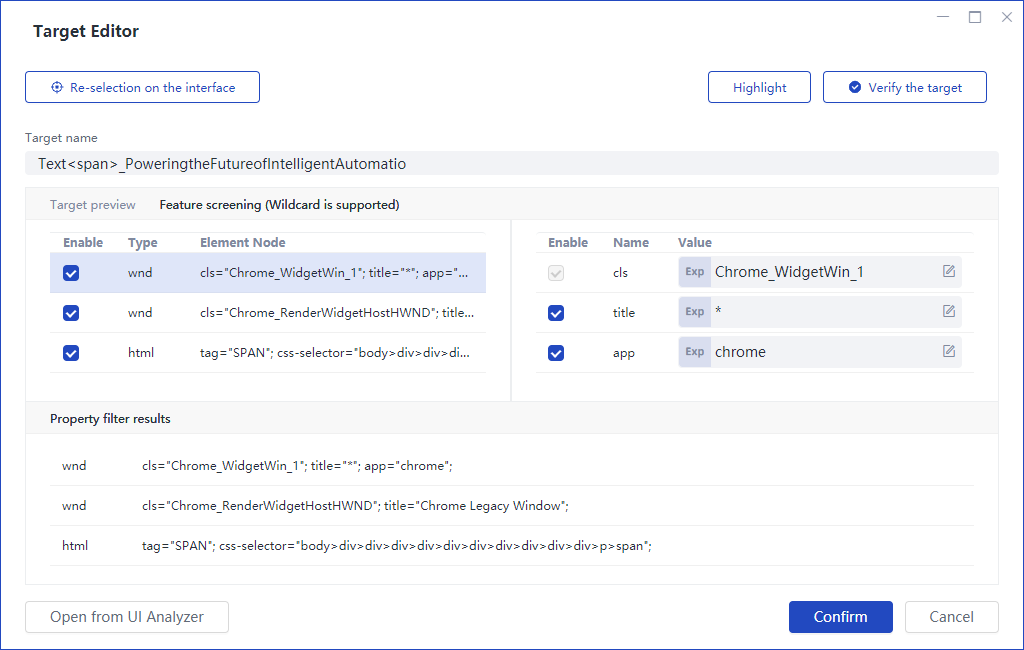
You can confirm the naming of the target name and filter features, and then click OK. Finally, this interface element has been saved to the Interface Library.
Image
When you click "find target > find image" in the toolbar, or use the shortcut key "Ctrl + 2" in the Process editing window page, you will enter the image capture mode. You need to press and hold the left mouse button to select the picture box, as shown below:
After the box selection, the preview window will pop up. You can click the "copy" button to paste the picture address into the corresponding command attribute.
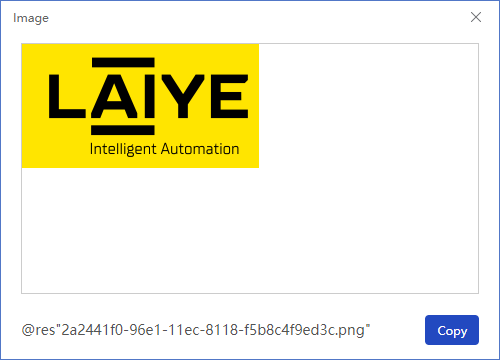
@ Res "xxxxx" is the Process resource directory, which can be referenced in the Process.
Window
When you click "find target > find window" in the toolbar, or use the shortcut key "Ctrl + 3" in the Process editing window page, you enter the window capture mode. The capture process is similar to that of capturing interface elements.
Region
When you click "find target > find region" in the toolbar, you enter the region grab mode. You also need to press and hold the left mouse button to select the region. After the box selection, the preview region result window will pop up. You can click "copy to clipboard" to paste the region result into the corresponding command attribute.
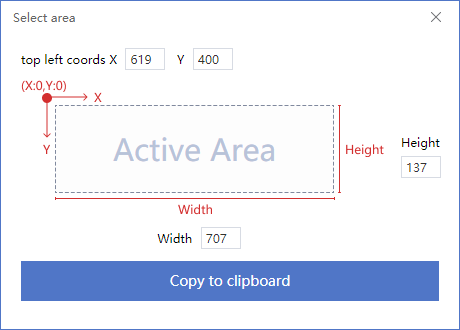
- Top left Icon Take the upper left corner of the display screen as the coordinate starting point (coordinate: x = 0, y = 0), and take the transverse x axis and longitudinal Y axis. The "X" value and "Y" value filled here refer to the "upper left corner coordinate of the effective area", that is, the distance relative to the coordinate starting point, in pixels.
- Effective area The values of "width" and "height" in the effective area come from the width and height of the selected area. You can adjust the values of "X", "Y", "width" and "height" in the upper left coordinate, then click "copy to clipboard" and close the window.